How we create our models & a look behind the scenes
When I started model making professionally some 40 plus years ago, to make a model boat there were really only 2 ways to go about it. If I was lucky enough to have drawings and lines plans, and the model was large enough we would “plank on frame” the model, or strip plank it. This is a technique that is used to make full size boats where a frame is cut out and assembled and strips of timber are laid along these frames to create a hull shape. The other way to go about making a model boat hull is simply to start with a block of timber and carve it. Both these techniques are a joy to but as technolo- gy advances so does the way in which we now make models…..if the information is available. More and more I am using laser cutters and 3D printers to make models. Whilst this doesn’t give me the satisfaction of hand carving a hull it does allow for detail that is pretty much unachievable in a hand make a hull. However to use these machines I need either a cad drawing for the laser cutter (laser cutters will cut a 2 dimensional shape , say a frame) or a 3D cad drawing for the 3D printer which al- lows for entire hulls and pieces to be printed. In many circumstances the time it takes to create a 3D computer image of a hull and print it is longer than using traditional techniques so all these things get weighed up in the initial planning stages of the models.
Some fittings and smaller pieces of a model are sometimes available commercially, say a propeller, small block, or a cleat but probably 95% of any model has to be hand made.
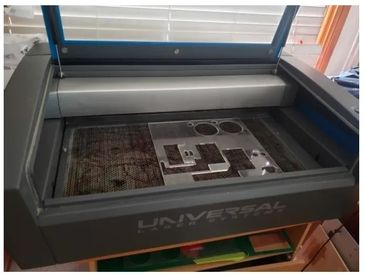
Laser Cutting
Laser cutting is pretty much as it sounds. I start with a 2 dimensional computer drawing for say a frame or a deck, maybe even the sides of a cabin and the laser cutter, using a high intensity laser beam will cut the shape out that has been programmed into the machine. This is great for complex shapes or any repetitive task.

3D Printing
There are a number of 3D printer styles on the market. Some print in plastics like ABS….that’s the stuff Lego blocks are made from. Others use a nylon type material, others can print in metals and ceramics, these are still very expensive.
I have a number of resin printers in the workshop that can print reasonable detail at a reasonable price but I also have 2 Formlabs printers that can print incredible detail up to 300 mm x 200 mm x 245 mm in size over and over again with mini- mal input from me. In layman’s terms, these printers have a small bath of resin in the bottom of the printer. The bath has a clear plastic base under which is 1 or 2 lasers mounted in carriages. These lasers buzz around under the resin bath and cure a very this layer of resin onto a platform. When that layer of resin is cured ( it can be as thin as 1/50th of a mm ) the platform rises and the next layer of resin is cured to the previous layer. Over many hours the desired object emerges from the resin bath.
Before any of this can happen I need a 3D computer image of whatever it is I want to print. The propeller below was sourced from a clients drawings and converted into a file format fit for 3D printing. The software sliced the propeller into 2500 layers and applied some scaffolding to support the print during printing. The printer then cured each layer of resin and over 24 hours the propeller immerged from the resin bath. The scaffold gets broken off once the resin is fully cured.
This is a very simplistic explanation of 3D printing . There are volumes of information that can explain the processes better than I can available online if you want to learn more about it.
ABOUT US
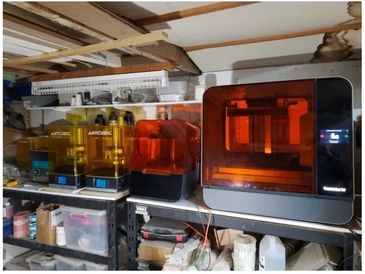
Some of the 3D printers in the workshop
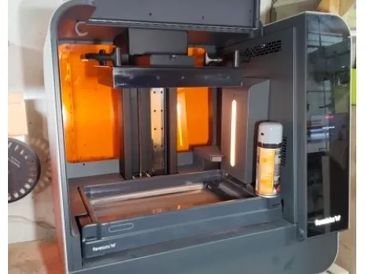
A large Formlabs 3D printer
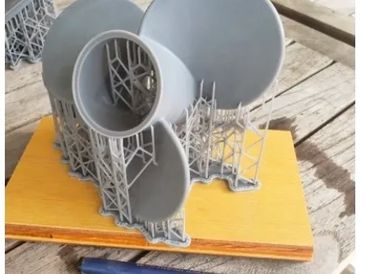
A 3D printed propeller with support scaffolding still attached
3D Scanning
To compliment the 3D printers I have also added 3D scanning to the range of technology available.
This technology scans an object using light reflection and creates a 3D computer image of the object which can then be manipulated on the computer and subsequently 3D printed. Another way of thinking about this is as a 3D copier.
This is great if I have a model that I have hand made, I can now scan it and reproduce it at any size. I can also take a part of a model that would normally be too small or intricate to hand make, hand make it at a larger scale, scan it and print it at the smaller scale. The possibilities are almost endless.
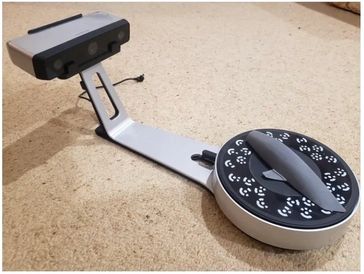
The scanner is at the left hand end and the object to be scanned is placed on a turntable at the right. The object to be scanned is rotated on the turntable and multiple images are taken by the scan- ner, stitched together and hopefully a 3D computer image appears.
Other in house capabilities include Vinyl Cutting and Silicone Moulding.
Many of the models I make need graphics and things like intricate windows . It was getting increasingly difficult to find people who would take on this work due to the complexity of some of the cuts and the small sizes required so I have brought the technology in house and can now produce pretty much anything that is required.

Vinyl Cutter
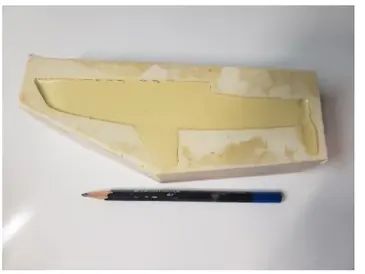
Silicone Moulding & Resin Casting
Prior to the appearance of 3D printing if I needed to reproduce something I used silicon moulds and resins to make multiple bits.
The silicon mould is made by encasing an object in a liquid silicon that cures to make a flexible mould. Into this we can cast resins and some metals to reproduce the original piece.
I still use this technique a lot as it is quick and simple.
Silicon Mould
Silicon Mould with Resin Casting
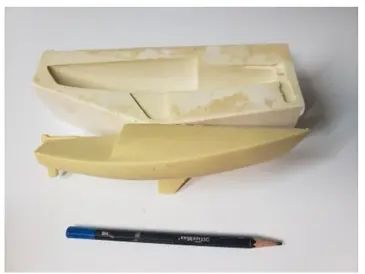
Resin Casting Removed from Mould
Despite all this new technology I still love making models by hand and having to create each piece individually. All these machines just compliment the craft.
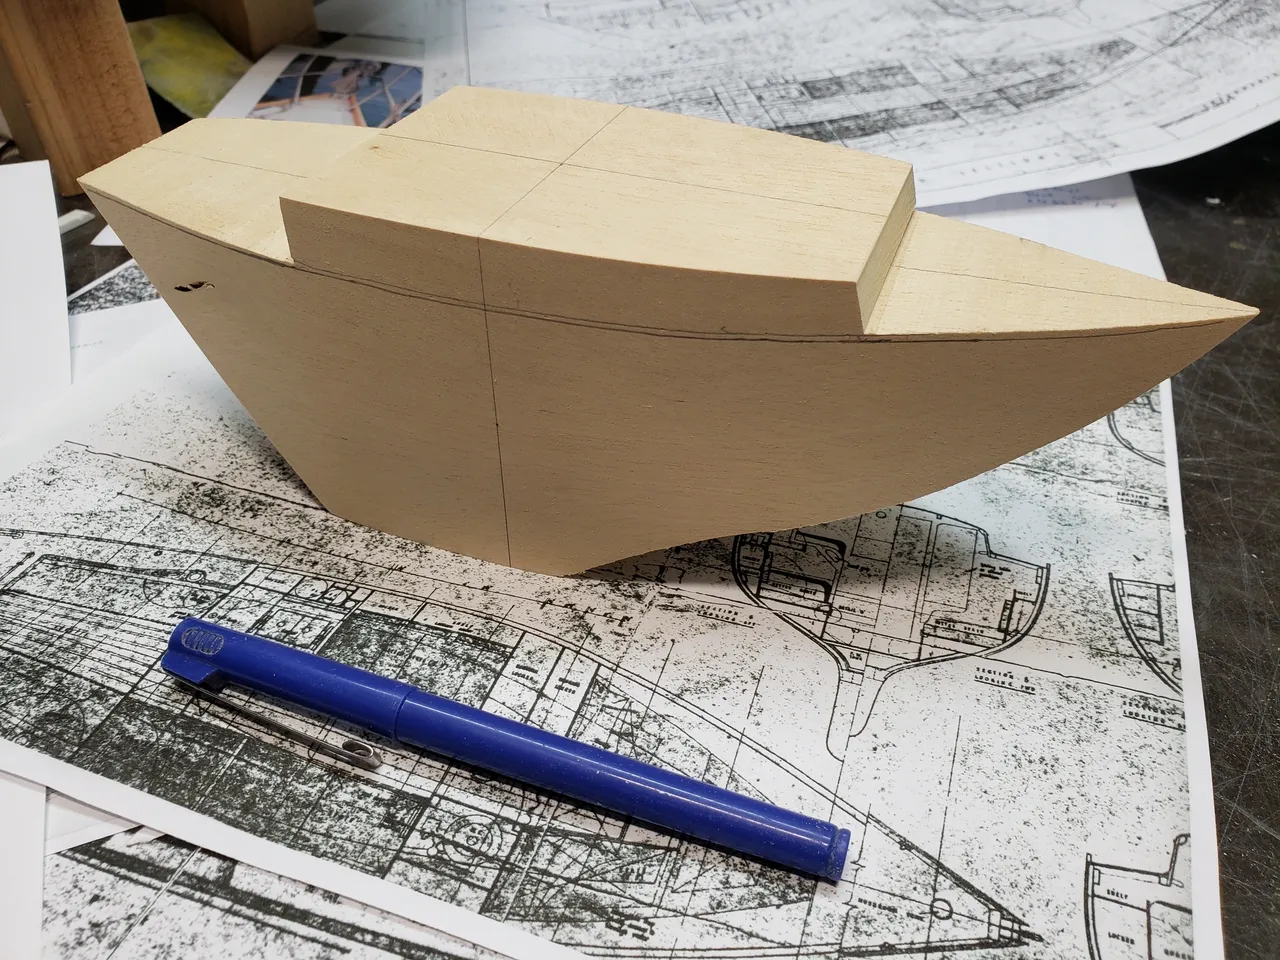
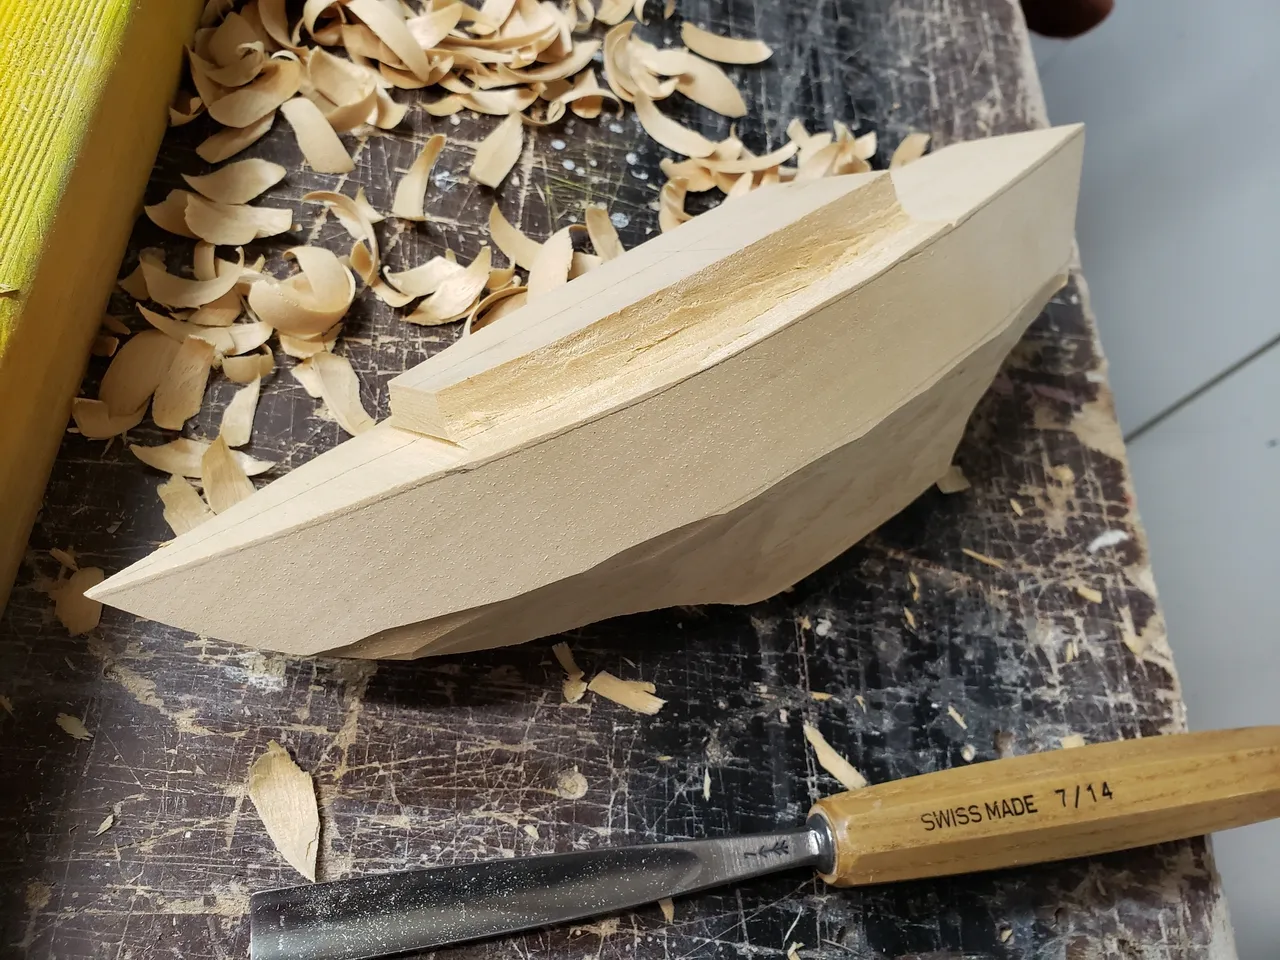
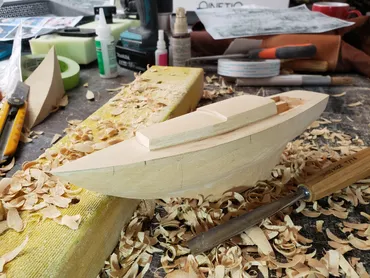
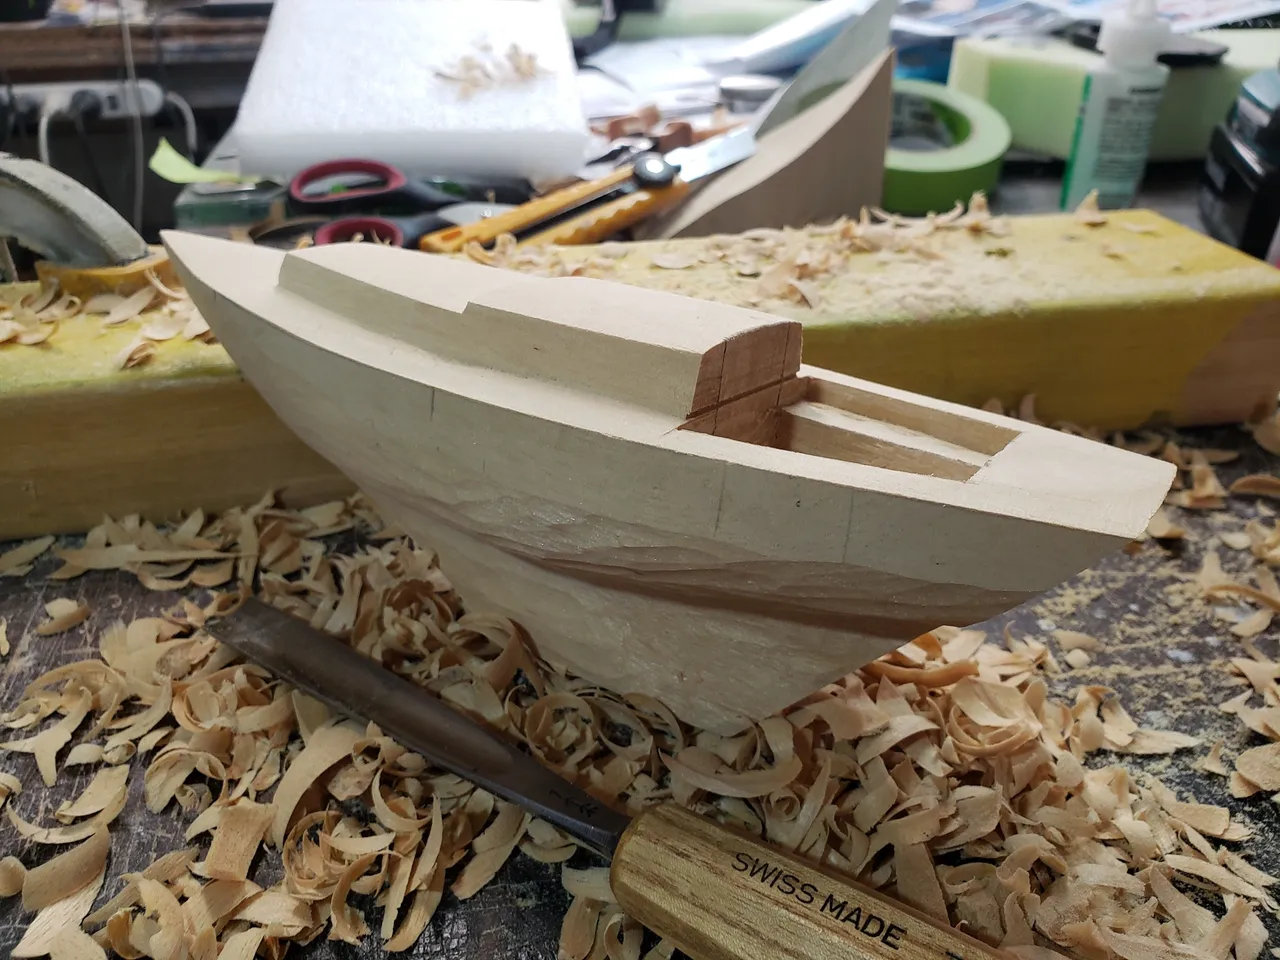
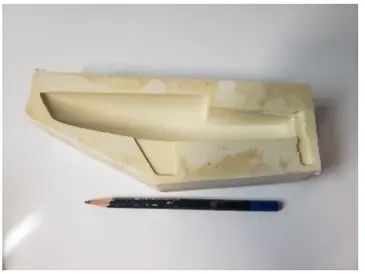
Below are some images of a traditionally carved hull taking shape.
Please drop me line if you have a need for any of the products these technologies can produce. ian@austekmoels.com.au or phone on 0417 412 305
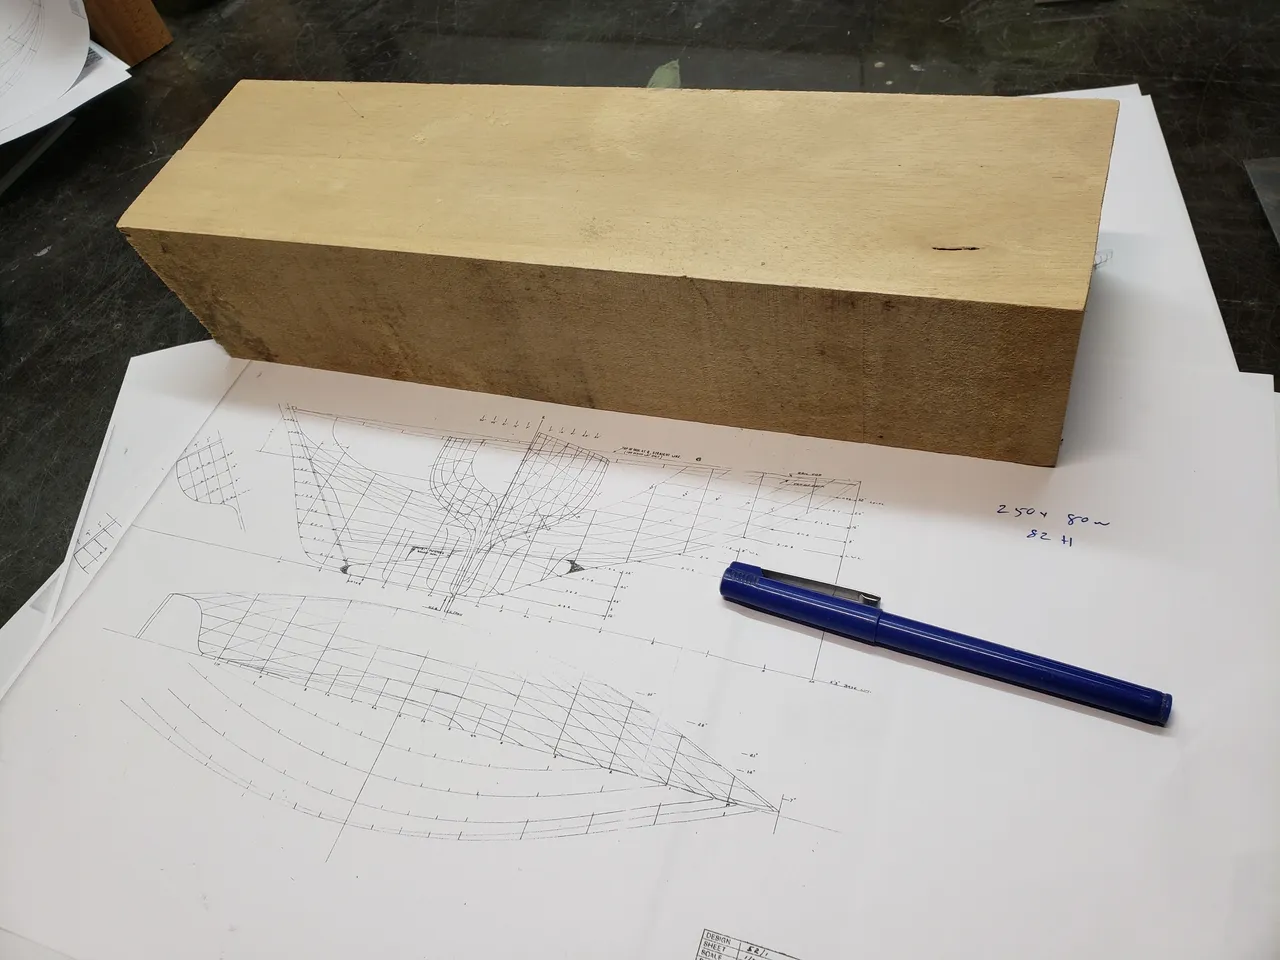
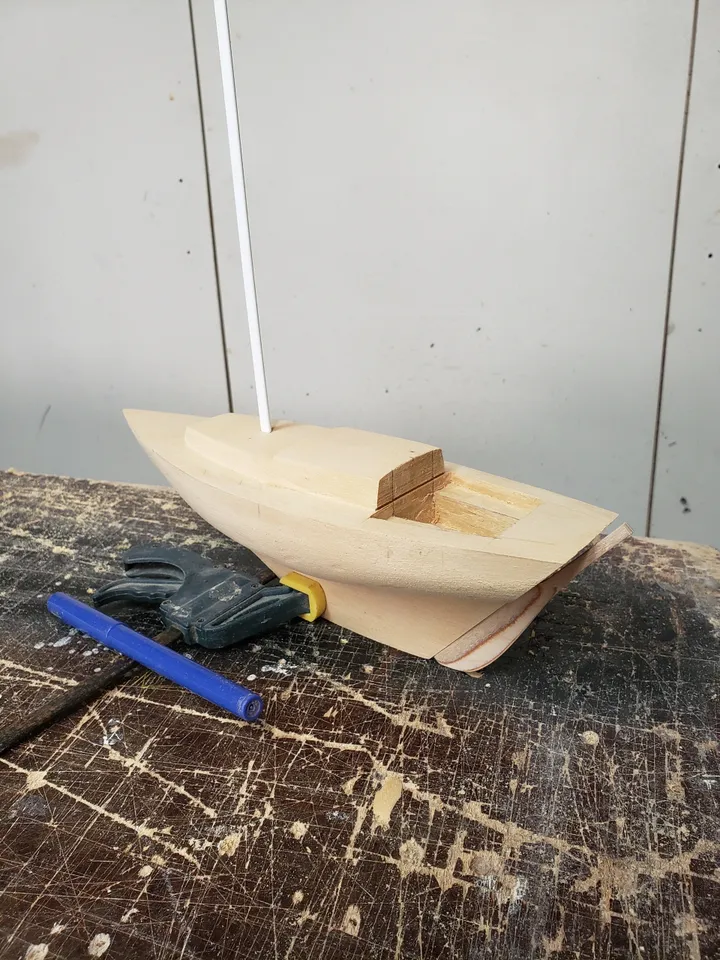
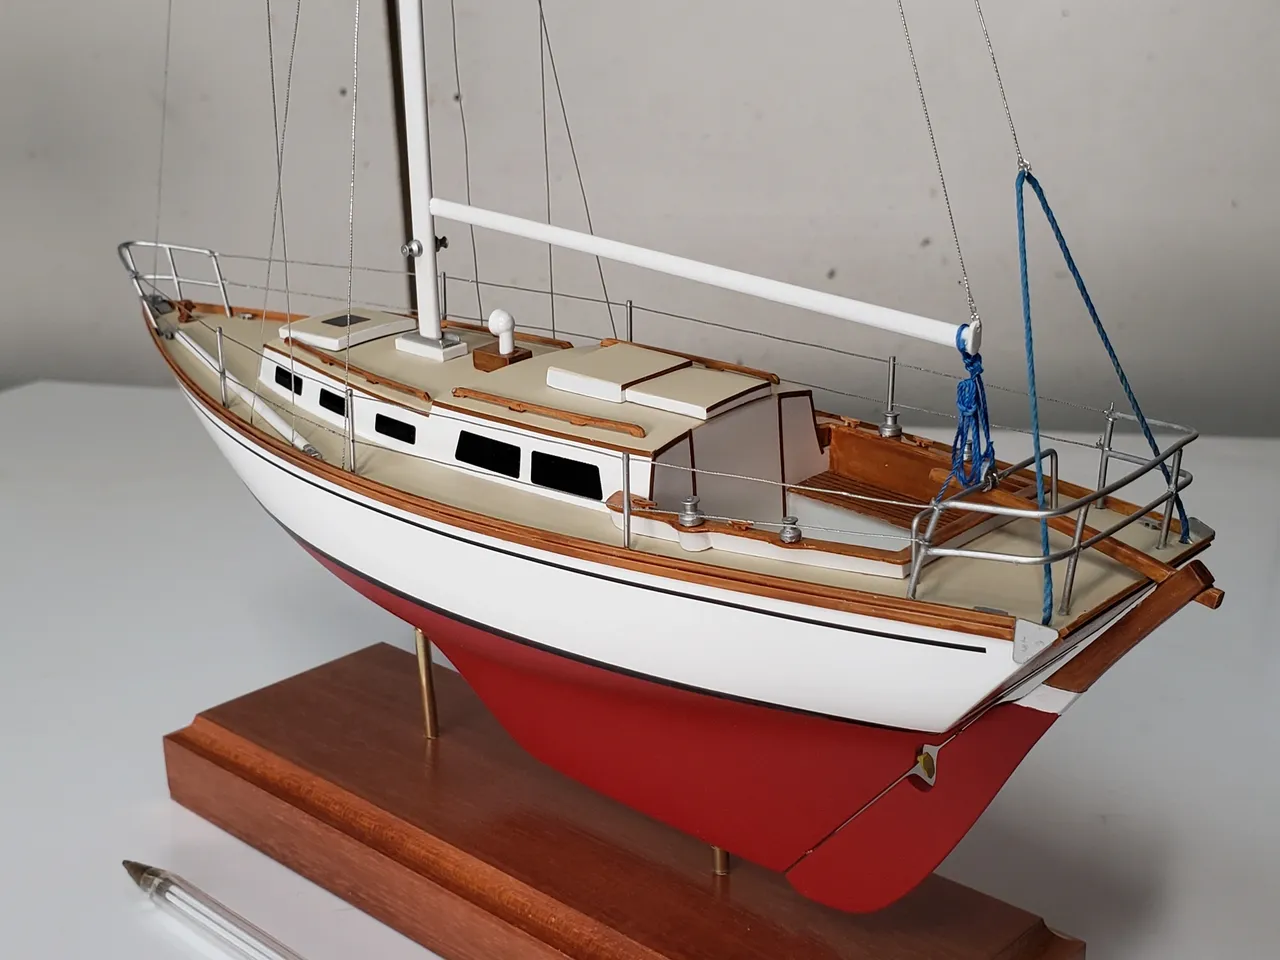
“Whisper” was quite a small model at less than 220 mm in length and I was lucky that the customer had some drawings and photos of the yacht taken when he sailed her.
As you can see from the images below I start with a block of timber and slowly carve away the excess timber until I am close to the desired shape and then it moves onto sandpaper until the finished shape is achieved.
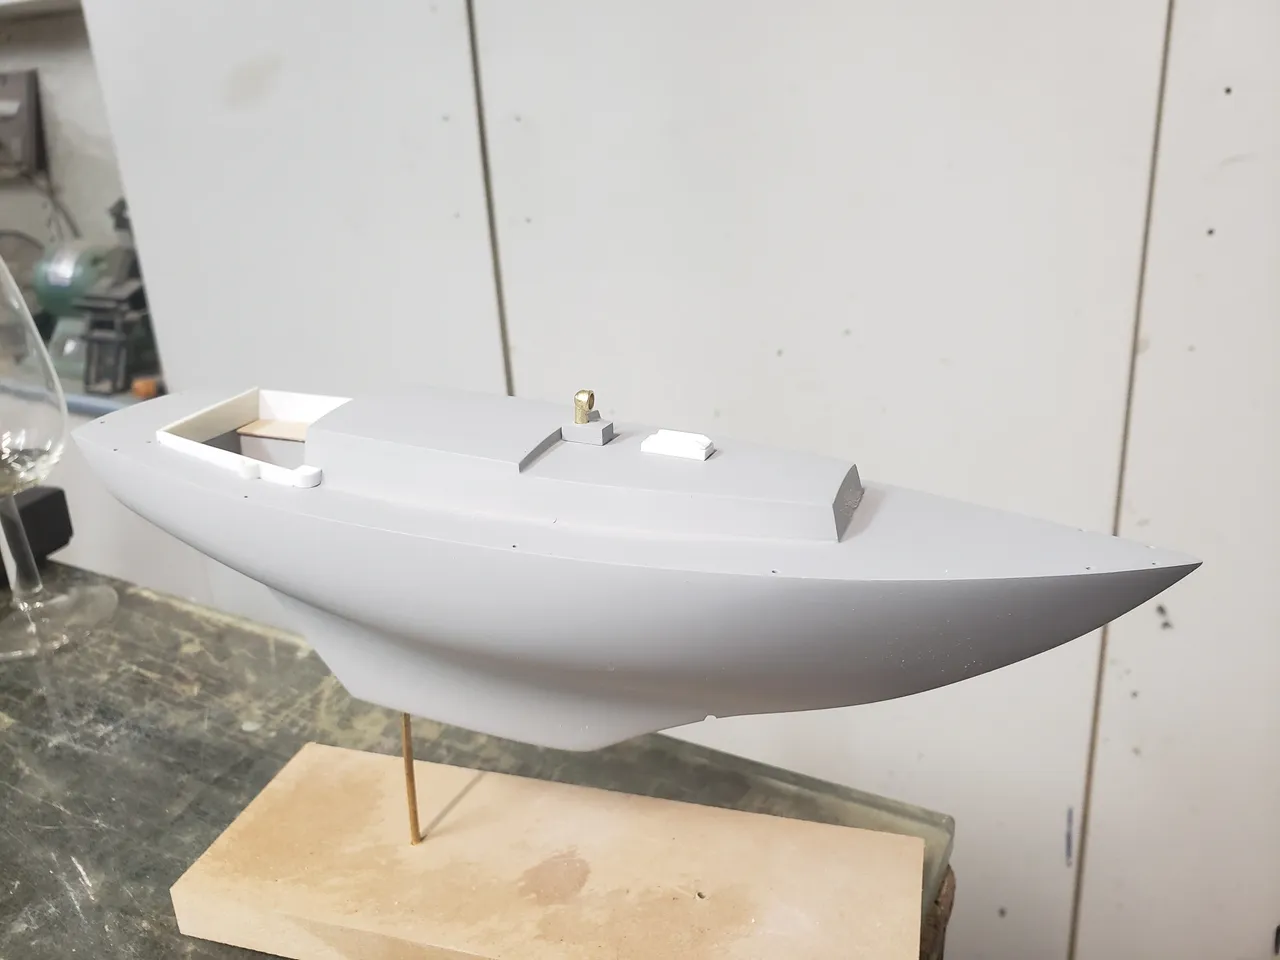
All my timber models are coated in a marine epoxy before they are painted. This seals the timber and should stop any cracking and visible timber grain appearing down the track. The models are then spray painted in marine and automotive lacquer’s.
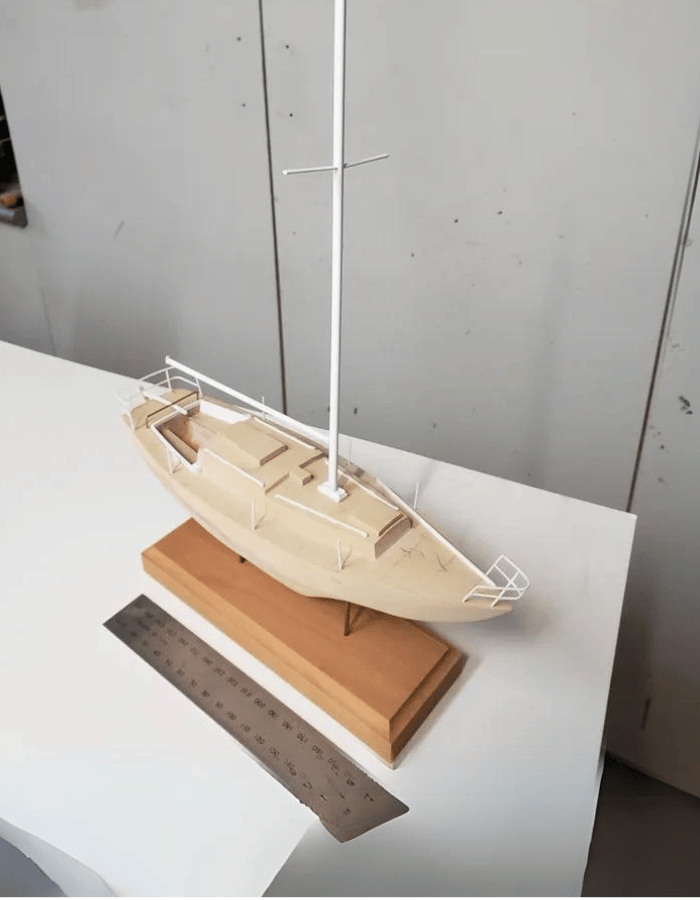
The detailed pieces are made, all the bits assembled and a finished model results. Sounds simple but many hours and dec- ades of experience go into every model.